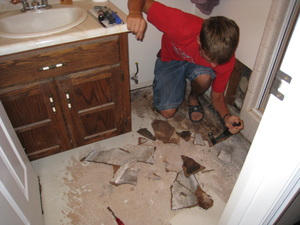
We needed new carpet and linoleum on the ground floor of our home. In April we called in Henry’s of Bountiful to do the work. This post is not meant as a tutorial on how to install PermaStone vinyl tile. It will however show you how the installation progressed, what it cost, and how well the finished product looks.
Click on the photographs below to see enlarged versions.
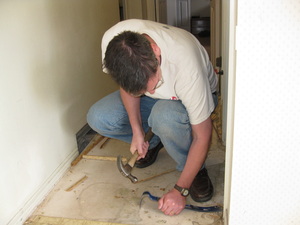 |
Out With The OldWe tore out the old carpet and underlay. The linoleum stayed and the vinyl tiles will be installed on top. The hallway carpet was to be replaced with the tile. Here I am pulling up the old carpet fastening strips. I left the carpet strips in place in the bedrooms. The kitchen linoleum was scrubbed with bleach to remove any grease. |
 |
In With The NewThis pile of boxes contains part of the new floor. At the Nafco website you can see the three sizes of tile that are in the box. The flooring has a natural texture and subtle coloration. The tiles come in three different sizes that fit seamlessly into stylish modular units. Each modular unit is comprised of two 16″x16″, three 8″x8″, and two 8″x16″ tiles. |
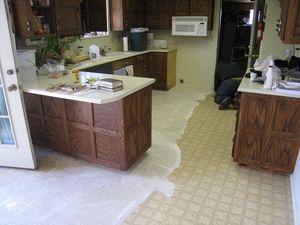 |
Stick To ItThe kitchen and dining area were the first to get a coat of adhesive. That’s the white stuff on the floor. The installers had difficulty finding my home so had a late start. Nevertheless they finished the vinyl and started on the carpet. They stuck to the job until 8pm but couldn’t quite get finished. They completed the installation the next day. |
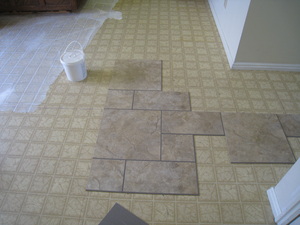 |
A Pattern EmergesOnce the first tiles were laid the rest of the tiles were installed very quickly. This is perhaps a job I could do myself but the first time around I was content to watch how it was done. These two men worked hard all day and into the evening. |
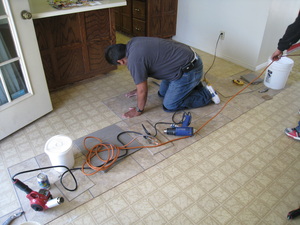 |
Henry’sHere the installer is building upon the first few tiles that were laid in the center of the floor. Henry’s was recommended to us by a friend. Here is Henry’s Floor Coverings blog. Henry Smith started the company in 1953 and it is now owned by his grandson, Nick Berry. Nick is the one who helped us select PermaStone for our floor. |
 |
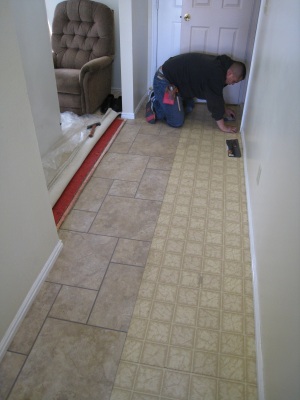
A Module Unit EmergesDo you recall the module units mentioned in In With The New? Here you can see the units emerging made up of two large squares, two rectangles, and three small squares. Then they repeat. You can clearly see two full modular units that are not covered by equipment. |
 |
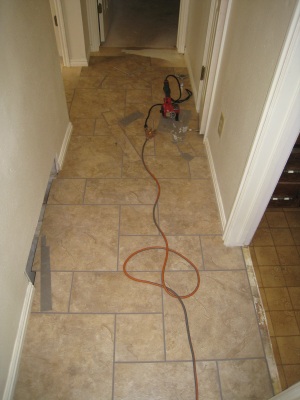
Entranceway Under ConstructionHere the carpet had to be lifted to install the tile. There was also a small area where the floor had settled. This was no problem for vinyl tile because of its flexibility. If I had chosen ceramic tile I may have had to level out the floor. An interesting feature of these tiles is GroutFit that is only on two sides of the tile. When they are fitted together, you see a seamless floor. According to Erica Hubbard, the director of marketing for Nafco by Tarkett, “the grout feels amazingly real” without the headaches of real grout. |
 |
Hallway Under ConstructionThis is the hallway that originally was carpeted. Now it is tiled all the way to the three bedrooms. This is a better solution to reduce wear and tear that was very visible on our old carpet. On the subject of tears, consider how easy it is to replace a tile: It is inevitable that a tile is going to be damaged during the lifetime of the floor. Perhaps it happens while redecorating, or moving furniture from room to room. Replacement takes just a few minutes. Using a heat gun and a utility knife, remove the damaged tile. Then apply adhesive to a new tile and replace it. For this purpose I purchased an extra box of tiles to use as replacements. |
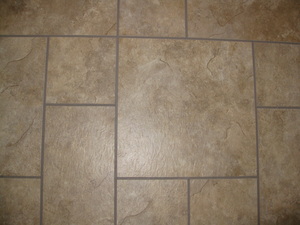 |
PermaStone CloseupThis photograph shows the “grouting” in more detail. It looks like the real thing. Click on the photograph to get an enlarged view. The pattern we chose is called Natural Slate (PMR-660) with the Dune color. There are other colors in the slate, namely Flint and River Rock. Of course there are several other patterns and colors to choose from. |
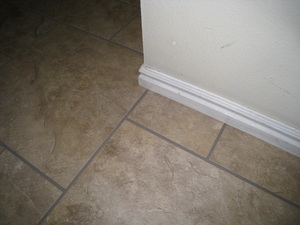 |
CorneredThe corners had a great fit as you can see here. We retained the original baseboards. The tiles were fitted right up to them and a small amount of grout (real this time) finished the job. Perhaps it isn’t grout but something similar. Anyway the results are perfect. |
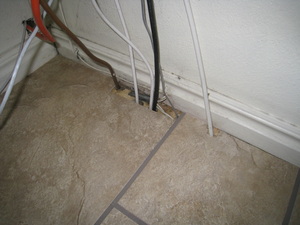 |
Cut Around The WiresThe space behind my refrigerator is where I feed wires from the attic through to the basement. The installers neatly went around the wires. This part is always hidden from view once the refrigerator is returned. |
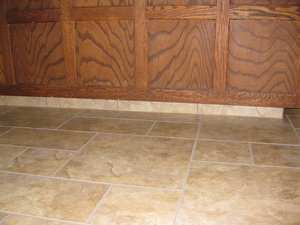 |
CovingThe kitchen had 36 feet of coving that needed to be replaced. This was achieved by using the tile itself. I like how it came out. For the coving there was an additional $99 charge for labor which was in the original quote. I tore out the existing coving but it was not very difficult. Tearing things out is so much easier than putting stuff in! |
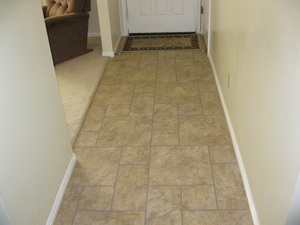 |
Finished EntrancewayAll done. It looks just like brand new. The carpet is back in place and the refrigerator has been moved back into the kitchen. No more midnight snacks without getting out of bed. You can see the modular units in the flooring except this time they are vertically oriented. |
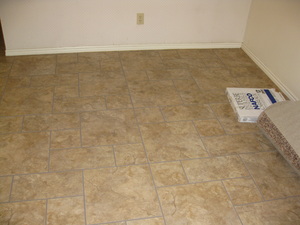 |
Finished Dining AreaThere is my spare box of tiles that I hope I never have to use. This dining area looks clean enough to eat off. However, we did bring the dining table back in to the house. By the tile box is a roll of our new carpet that was installed. |
 |
Finished KitchenNow that is a fine looking kitchen floor. After 26 years the linoleum was finally replaced. And about time Jill said. So my wife is happy, so I’m happy, Henry’s is happy (they got paid) — even the fish are happy. It’s enough to make you want to smile. |
Cost
I am always asked in the comments, “How much did it cost you?” So here goes:
$1,520.00 — PermaStone Vinyl Tile PMR-660 Dune (380 square feet @ $4.00)
…$718.20 — Labor (380 square feet @ $1.89)
…..$99.00 — Extra Labor Charge, Vinyl Coving (36 feet @ $2.74)
—————–
$2,337.20
Versions prior to Internet Explorer 8 do not render the borders correctly. Try using FireFox.


